

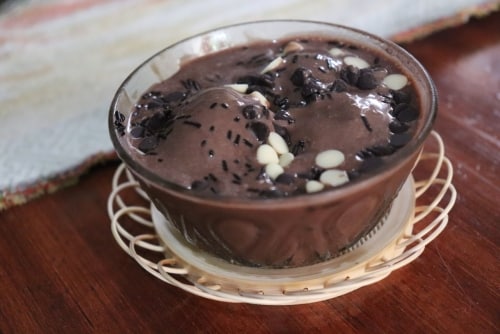
Healthy Homemade Chocolate Ice Cream (No Ice Cream Maker!)

10 minutes
1232 reads
About Healthy Homemade Chocolate Ice Cream (No Ice Cream Maker!)
Dive into a bowl of deeply decadent, yet guilt-free chocolate ice cream. This homemade, no-churn recipe delivers rich, creamy satisfaction with a healthy twist, thanks to simple ingredients and a touch of arrowroot.Made with milk, cocoa powder, and just a few other pantry staples, this frozen treat is surprisingly easy to whip up. It's bursting with chocolatey goodness and boasts a smooth, velvety texture that rivals your favorite brands. Perfect for a light dessert or a satisfying afternoon pick-me-up, enjoy it straight from the freezer or dress it up with your favorite toppings for a truly unforgettable experience.
Stop Thinking About What to Cook Every Day
Healthy Eating, Kids Tiffin, PCOS and Weight loss meals, all planned out for you. Just follow the plan and cook. From ₹299.
Recipe Time & More
Prep5 minutes
Cook5 minutes
Total10 minutes
Ingredients
Base
- 2 cup Milk
- 2 tbsp Arrowroot Powder
- 1 tbsp Vanilla Custard Powder
- 2 tbsp Milk Powder
- 3 tbsp Cocoa Powder
Sweeteners & Flavor
- 3 tbsp Sugar
- 2 tbsp Sweetened Milk condensed
- 1/2 tsp Vanilla Extract
Mix-ins
- 3 tbsp Chocolate Chips
- 1/2 tbsp Butter
Instructions
- In a saucepan, whisk together the milk, arrowroot powder, vanilla custard powder, milk powder, and cocoa powder until smooth. This helps prevent lumps and ensures even cooking.
- Add the sugar to the mixture and whisk again to combine.

- Heat the mixture over medium heat, stirring constantly, until it comes to a gentle simmer and thickens enough to coat the back of a spoon. This cooking process activates the thickeners and creates a creamy base.
- Remove the saucepan from the heat and stir in the butter and sweetened condensed milk. Mix well until the butter is fully melted and incorporated. Let the mixture cool to room temperature.

- Blend the mixture using a blender or whisk until completely smooth. This step creates a light and airy texture.
- Chill the mixture in the refrigerator for at least 30 minutes to allow it to cool further. This helps prevent ice crystals from forming during freezing.
- Blend the chilled mixture again briefly. Stir in the chocolate chips.
- Pour the ice cream mixture into an airtight container and freeze for 4-6 hours, or until firm. For best results, freeze overnight.


Recipe Notes
Good To Know
- Wait for 2-3 minutes after taking the ice cream out of the freezer for easier serving.
- For extra crunch and flavor contrast, fold in toasted nuts, cacao nibs, or crushed chocolate wafer cookies just before transferring the mixture to the freezer.
- If you're aiming for a vegan version, substitute the milk with coconut or almond milk and use a plant-based milk powder; ensure your custard powder is egg-free as well.
- To achieve the creamiest texture without an ice cream maker, periodically stir the mixture every 30–45 minutes as it freezes, breaking up ice crystals until it’s firm and scoopable.
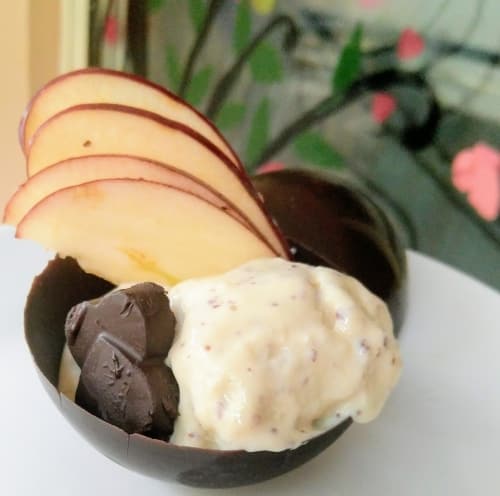
- Serve the ice cream in chocolate-dipped cones or bowls, and sprinkle with a pinch of flaky sea salt or a drizzle of espresso for an elevated dessert experience.
Expert Tips
- For a richer flavor, use full-fat milk and cream.
- Chill your serving bowls or cones in the freezer for a few minutes before scooping to prevent the ice cream from melting too quickly.
- If you have an ice cream maker, follow the manufacturer's instructions for churning and freezing.
Storage Instructions
- Store leftover ice cream in an airtight container in the freezer for up to 2 months.
Related Posts You May Like
-

-

-

-

-

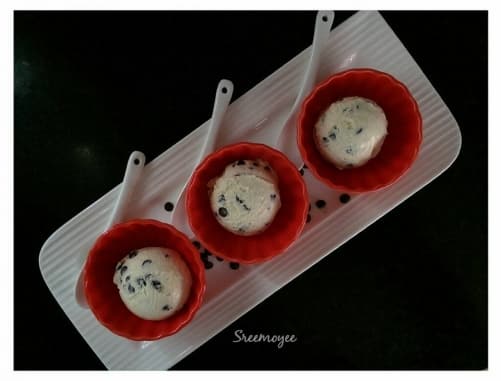
Homemade Chocolate Chip Ice Cream Recipe
887 reads
-









Recipe Nutrition
Calories: 207kcalCarbohydrates: 18gProtein: 7gFat: 12gSaturated Fat: 7gPolyunsaturated Fat: 1.5gMonounsaturated Fat: 3gCholesterol: 10mgSugar: 19g

Usha Bhat
Articles: 6
5 Comments
Leave a Reply
You must be logged in to post a comment.


This looks so good! Appreciate the share.
Such a great recipe! Can’t wait to try it.
Absolutely delicious! Thanks for sharing.
Healthy because Arrowroot powder is used.
This looks perfect! Thanks for posting.