Paneer Masala Puttu/Steamed Rice Flour Paneer Cake
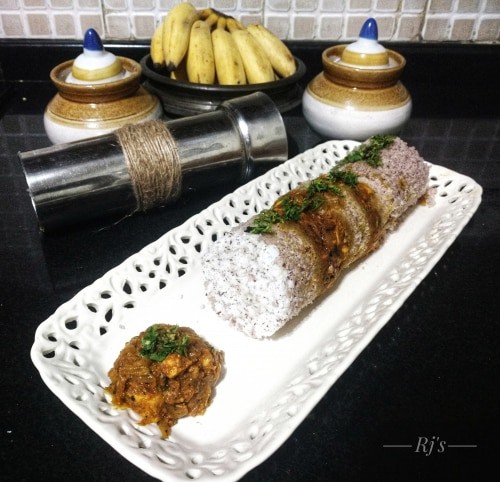
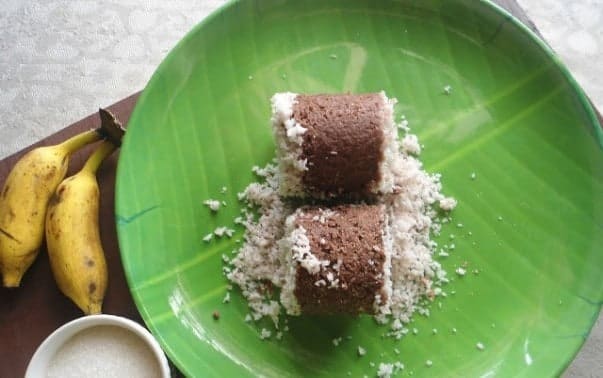
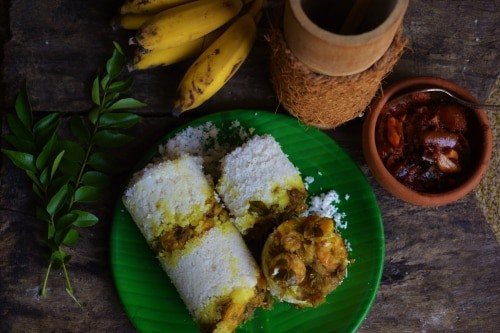
The delicious and mouthwatering Paneer masala Puttu/Steamed Rice flour paneer cake is a famous dish of Kerala and is very much popular worldwide. This dish is often served for breakfast in a simpler version. Plain Puttu is often had with bananas or brown channa curry in Kerala. This fusion dish, Paneer masala Puttu/Steamed Rice flour paneer cake is the best option for you when you want to eat or cook something really different. It is an amazing dish which is liked by the people of every age group. It is not a typical restaurant style recipe but a simple homely comforting dish. It is an easy and simple recipe that is perfect to make in a jiffy for a weekend lunch or dinner. Try this delicious Paneer masala Puttu/Steamed Rice flour paneer cake recipe at your home and surprise your family and friends with your versatile culinary skills.
Print
Pin
Advertisement
Ingredients
- 200 gm Paneer
- 1 Onion sliced
- 2 tsp Paste gingergarlic
- 1 Tomato big ground
- 1 tsp Cumin Powder
- 1 tsp Chilli Powder
- 1 tsp Coriander Powder
- 1/2 tsp Turmeric Powder
- 1/3 tsp Salt or as per taste
- leaves Coriander chopped
- 1 cup, Rice Flour double horse chemba puttu podi
- to / Water cup approx, or wet, or flour enough wet the flour
- Coconut grated
Advertisement
Instructions
- Take the rice flour( using chemba puttu podi-red rice flour) in a mixing bowl, add some salt and sprinkle water. The amount of water will depend on the rice flour used. start mixing with your fingertips.
- For soft Puttu, rice flour and water ratio is important. too much water will make it hard. To test this, gently press some flour in your fist and it should form a soft ball, which crumbles fast. If it doesn't hold shape, then add little more water.
- Ensure that no lumps are remaining in the flour. If required, you can pulse small quantities of the mixture in the mixer for uniformity. Keep this mixture aside and prepare the filling
- In pan, pour oil and saute the ginger garlic paste. Then add the Onions an saute till onions are soft and turns slightly brown.
- Add the masala powders and saute till the aroma of roasted spices come. Add the tomato paste & saute till oil is released and its well cooked.add the required salt and little water. Let it boil.
- Add the paneer cubes and mix well. Cover and cook for another 5 min or till paneer is soft and tender. lastly after the paneer is cooked, add chopped corriander and a cube of butter.
- Now check the Rice flour mixture, it would have gotten little dry, so add few more tbsp of water so as to get proper consistency.
- Take 1 litre of water in cooker for steaming and place the puttu maker on the cooker along with the slotted disk at bottom to heat it with the steam.
- Once heated, remove the puttu maker , add coconut and alternate layers of puttu mixture and paneer masala. and finally top with a layer of coconut. place it on top of cooker for steaming and cooking covered at high flame for 10 min.
- You will see the steam coming from the top after about 3 min. Once 10 min is done, remove puttu maker and using a thin rod, carefully slide out the puttu to see the amazing layers of stuffing.
- Puttu can be had in the traditional way also with coconut instead the masala stuffing, and mixing it with bananas and sugar.
Recipe Notes
If the Rice flour is not having enough water to bind, Puttu will crumble when you try to remove from the cylinder.
If there is too much water added, then the puttu will become harder than required.
Ensure enough steaming is done. you can notice the steam coming from the top of the puttu maker.
Donot press down and fill the puttu maker, then there will not be enough space for seam to come out. Only lightly fill the cylinder.
Donot forget to add the slotted disc at the bottom before starting the layering.
Advertisement
