

Homemade Assorted Chocolates: A Delicious DIY Treat

11 minutes
1417 reads

About Homemade Assorted Chocolates: A Delicious DIY Treat
Indulge your sweet tooth with these exquisite homemade assorted chocolates! This easy-to-follow recipe lets you create a delightful variety of dark, milk, and white chocolate treats, customized with your favorite nuts, raisins, and more. Perfect for gifting or enjoying yourself, these chocolates are far superior to store-bought versions.Using premium chocolate compound, you'll master simple melting and molding techniques to create stunning, personalized chocolates. Experiment with different shapes and flavor combinations – the possibilities are endless!Get ready to impress your friends and family with this surprisingly simple and rewarding confectionery adventure. Let's get started!
Stop Thinking About What to Cook Every Day
Healthy Eating, Kids Tiffin, PCOS and Weight loss meals, all planned out for you. Just follow the plan and cook. From ₹299.
Recipe Time & More
Prep10 minutes
Cook1 minute
Total11 minutes
Ingredients
Chocolate Compounds
- 6 oz Chocolate Compound premium quality; adjust amount for desired yield, dark
- 6 oz Milk Chocolate Compound premium quality; adjust amount for desired yield
- 6 oz Chocolate Compound premium quality; adjust amount for desired yield, white
Mix-ins
- 1/2 cup Nuts almonds, chopped, or a mix, pecans, walnuts
- 1/2 cup Raisins seedless raisins preferred, chopped
- 1 tsp Vegetable Oil optional, for thinning chocolate if needed
Equipment
- Various Shaped Chocolate Molds silicone molds are easiest to work with
- 1 Microwave-Safe Bowl
- 1 Spoon
- 1 Piping Bag for creating designs, optional
Instructions
Preparing the Chocolate
- Melt each chocolate compound separately in a microwave-safe bowl in 30-second intervals, stirring well after each interval until smooth and creamy. Add 1/2 teaspoon of vegetable oil to any chocolate that becomes too thick.
Molding the Chocolates
- Pour the melted white chocolate into your chosen molds, tapping gently to distribute evenly. Freeze for 5-10 minutes to set.
Creating Variations
- For a marble effect, layer white chocolate with dark chocolate in the molds.
Brown Chocolate
- Repeat the melting process, combining half the dark and milk chocolate compounds to achieve a medium brown color.
"Happy Anniversary" Chocolates
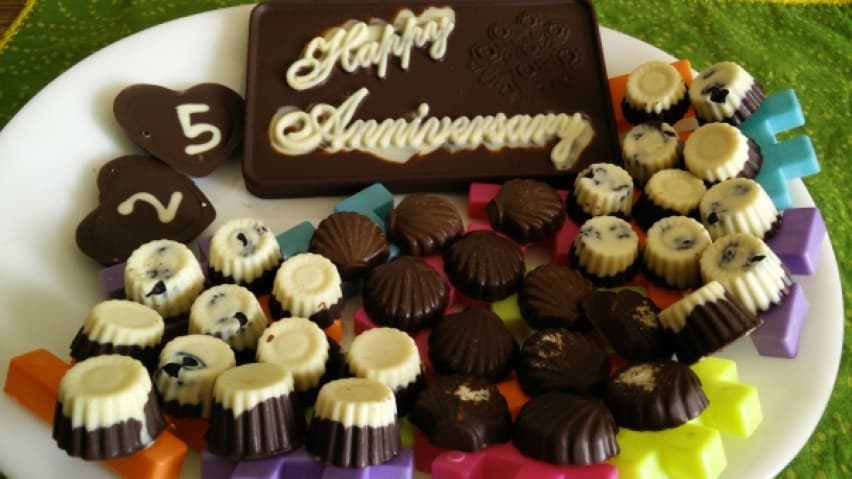
- Fill a piping bag with melted white chocolate. Pipe the desired inscription into the molds before filling with brown chocolate. Freeze to set.
Nut and Raisin Chocolates
- Place 2-3 raisins into the base of each mold. Top with melted brown chocolate mixed with chopped nuts. Freeze to set.
Finishing Touches
- Once set, gently remove the chocolates from the molds. Experiment with different shapes and fillings.
Recipe Notes
Expert Tips
- Use high-quality chocolate compound for the best flavor and shine.
- For easier unmolding, lightly grease your molds with vegetable oil or cooking spray before pouring in the chocolate.
- Don't overheat the chocolate; microwave in short bursts to prevent scorching.
- Get creative! Experiment with different mix-ins like dried fruits, sprinkles, or even finely chopped cookies.
Recipe Video
Related Posts You May Like
-

-

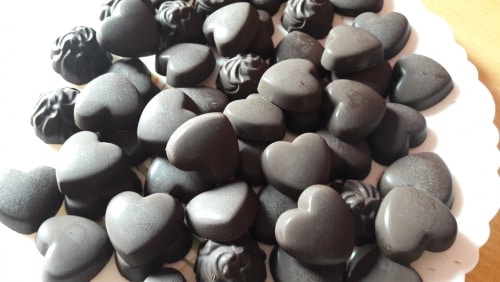
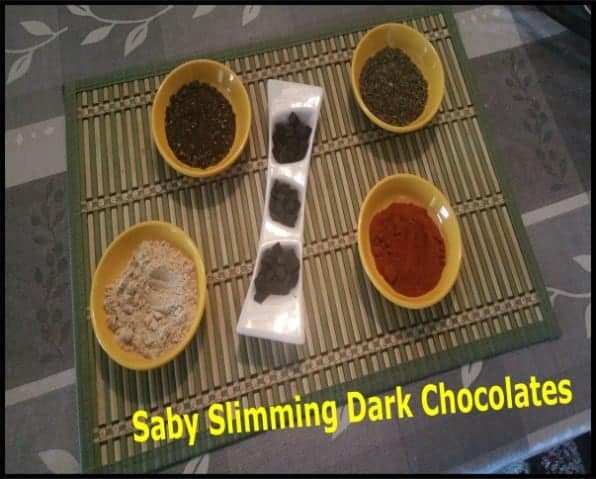
Slimming Dark Chocolates
1051 reads
-

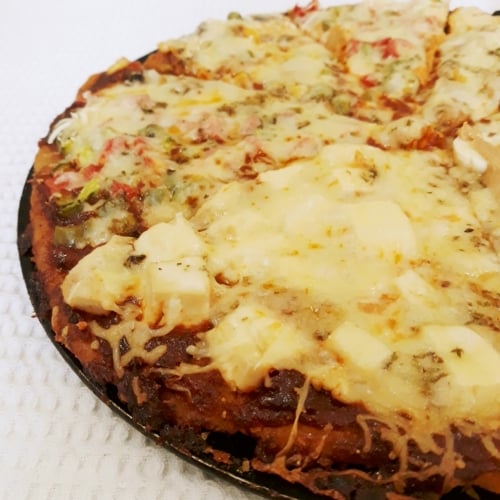
Whole Wheat Corn Meal Assorted Pizza
1245 reads
-

-

-









Recipe Nutrition
Calories: 93kcalCarbohydrates: 4gProtein: 3gFat: 8gPolyunsaturated Fat: 2.4gMonounsaturated Fat: 4.8gCholesterol: 1mgFiber: 1gSugar: 2g

Richa Gupta
Articles: 214
5 Comments
Leave a Reply
You must be logged in to post a comment.
What a delicious recipe! Thanks for posting.
This is so tempting! Can’t wait to cook it.
Yum! This recipe is a must-try.
I’m in love with this recipe already!
I’m loving this recipe already!