

Crispy Baked Seedai: A Healthier Twist on a South Indian Classic

1 hour 10 minutes
1345 reads

About Crispy Baked Seedai: A Healthier Twist on a South Indian Classic
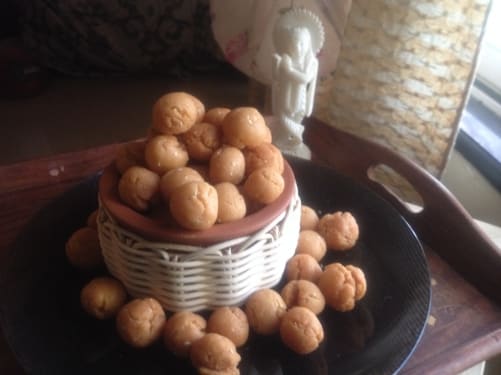
Celebrate Krishna Jayanti with a delightful crunch! These easy, healthy baked Seedai are a festive snack the whole family will love. Imagine the savory aroma filling your kitchen as they bake to golden perfection.This vegan recipe skips the deep frying for a guilt-free treat that's just as satisfying as the traditional version. The simple dough is perfect for little hands to help roll, making it a fun kitchen activity for all ages.Enjoy these crispy, flavorful Seedai as a wholesome and delicious way to honor the occasion.
Stop Thinking About What to Cook Every Day
Healthy Eating, Kids Tiffin, PCOS and Weight loss meals, all planned out for you. Just follow the plan and cook. From ₹299.
Recipe Time & More
Prep30 minutes
Cook40 minutes
Total1 hour 10 minutes
Ingredients
Dry Ingredients
- 1 cup Rice Flour readymade
- 1 tsp Urad Dal Flour readymade, roasted
- ½ tsp Cumin Seeds
- 1 Tbsp Coconut grated
- Salt to taste
- 1 pinch Asafoetida a generous pinch
Other
- 1-2 tsp Coconut Oil for greasing hands
Instructions
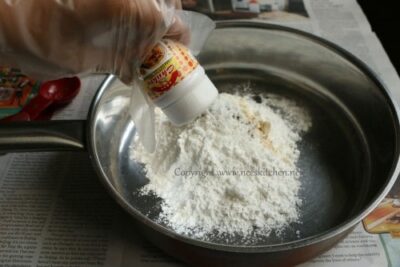
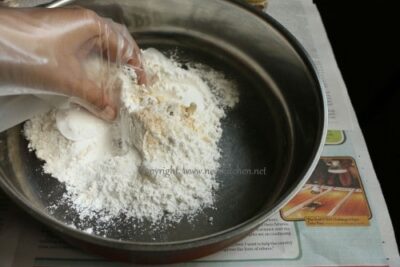
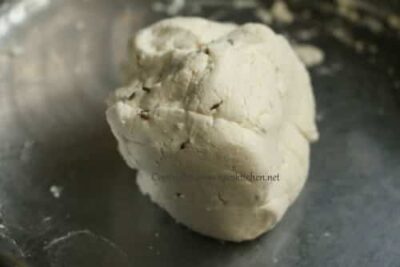
- In a large bowl, combine the rice flour, roasted urad dal flour, cumin seeds, grated coconut, salt, and asafoetida.

- Mix the dry ingredients thoroughly to ensure even distribution.
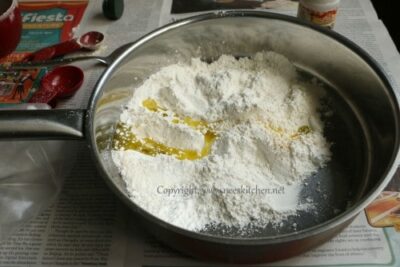
- Add the olive oil to the dry ingredients and mix well. This helps create a crumbly mixture that will bind when water is added.
- Gradually add water, a little at a time, mixing until a soft and pliable dough forms. Avoid adding too much water at once to prevent the dough from becoming sticky.
- Lightly grease your hands with coconut oil. This will prevent the dough from sticking and make it easier to roll.
- Line a baking tray with aluminum foil. This makes cleanup easier and prevents the seedai from sticking to the tray.
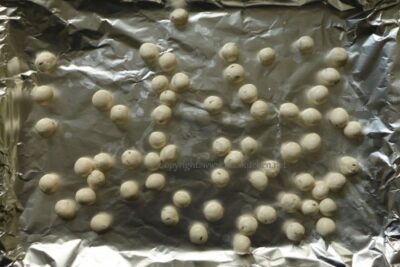
- Pinch off small portions of the dough and roll them into small balls. The size should be about ½ inch in diameter.
- Arrange the seedai balls on the prepared baking tray, ensuring they are spaced apart to allow for even baking.
- Preheat the oven to 180°C (350°F) for 5 minutes. Preheating ensures the oven is at the correct temperature for even cooking.
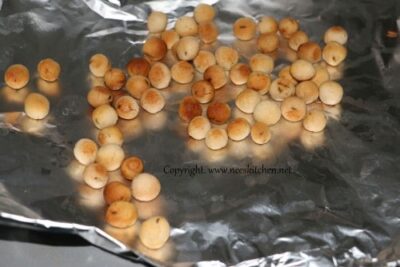
- Bake the seedai for about 30-35 minutes, or until they turn golden brown and firm. Check for doneness by pressing a seedai gently; it should feel hard.
- Remove the tray from the oven and let the seedai cool completely on the tray. This allows them to crisp up further. Once cooled, store them in an airtight container to maintain their crunch.




Recipe Notes
Expert Tips
- For a smoother dough, soak the dates in warm water for 10-15 minutes before blending.
- If the mixture is too sticky, add more desiccated coconut or ground nuts until you reach the desired consistency.
- Roll the energy balls in different coatings like cocoa powder, chopped nuts, or sesame seeds for added flavor and texture.
Storage Instructions
- Store the energy balls in an airtight container in the refrigerator for up to a week.
- For longer storage, freeze the energy balls for up to a month. Thaw them in the refrigerator before serving.
Also See
Related Posts You May Like










Recipe Nutrition
Calories: 223kcalCarbohydrates: 44gProtein: 4gFat: 3gSaturated Fat: 2gPolyunsaturated Fat: 0.3gMonounsaturated Fat: 1gSodium: 42mgPotassium: 53mgFiber: 2gSugar: 0.2gVitamin A: 14IUVitamin C: 0.2mgCalcium: 12mgIron: 1mg

Neeru Srikanth
Articles: 43
4 Comments
Leave a Reply
You must be logged in to post a comment.


Absolutely mouthwatering! Thanks for sharing.
I’m in love with this recipe already!
Such a tempting dish! Thank you.
This looks divine! Can’t wait to make it.