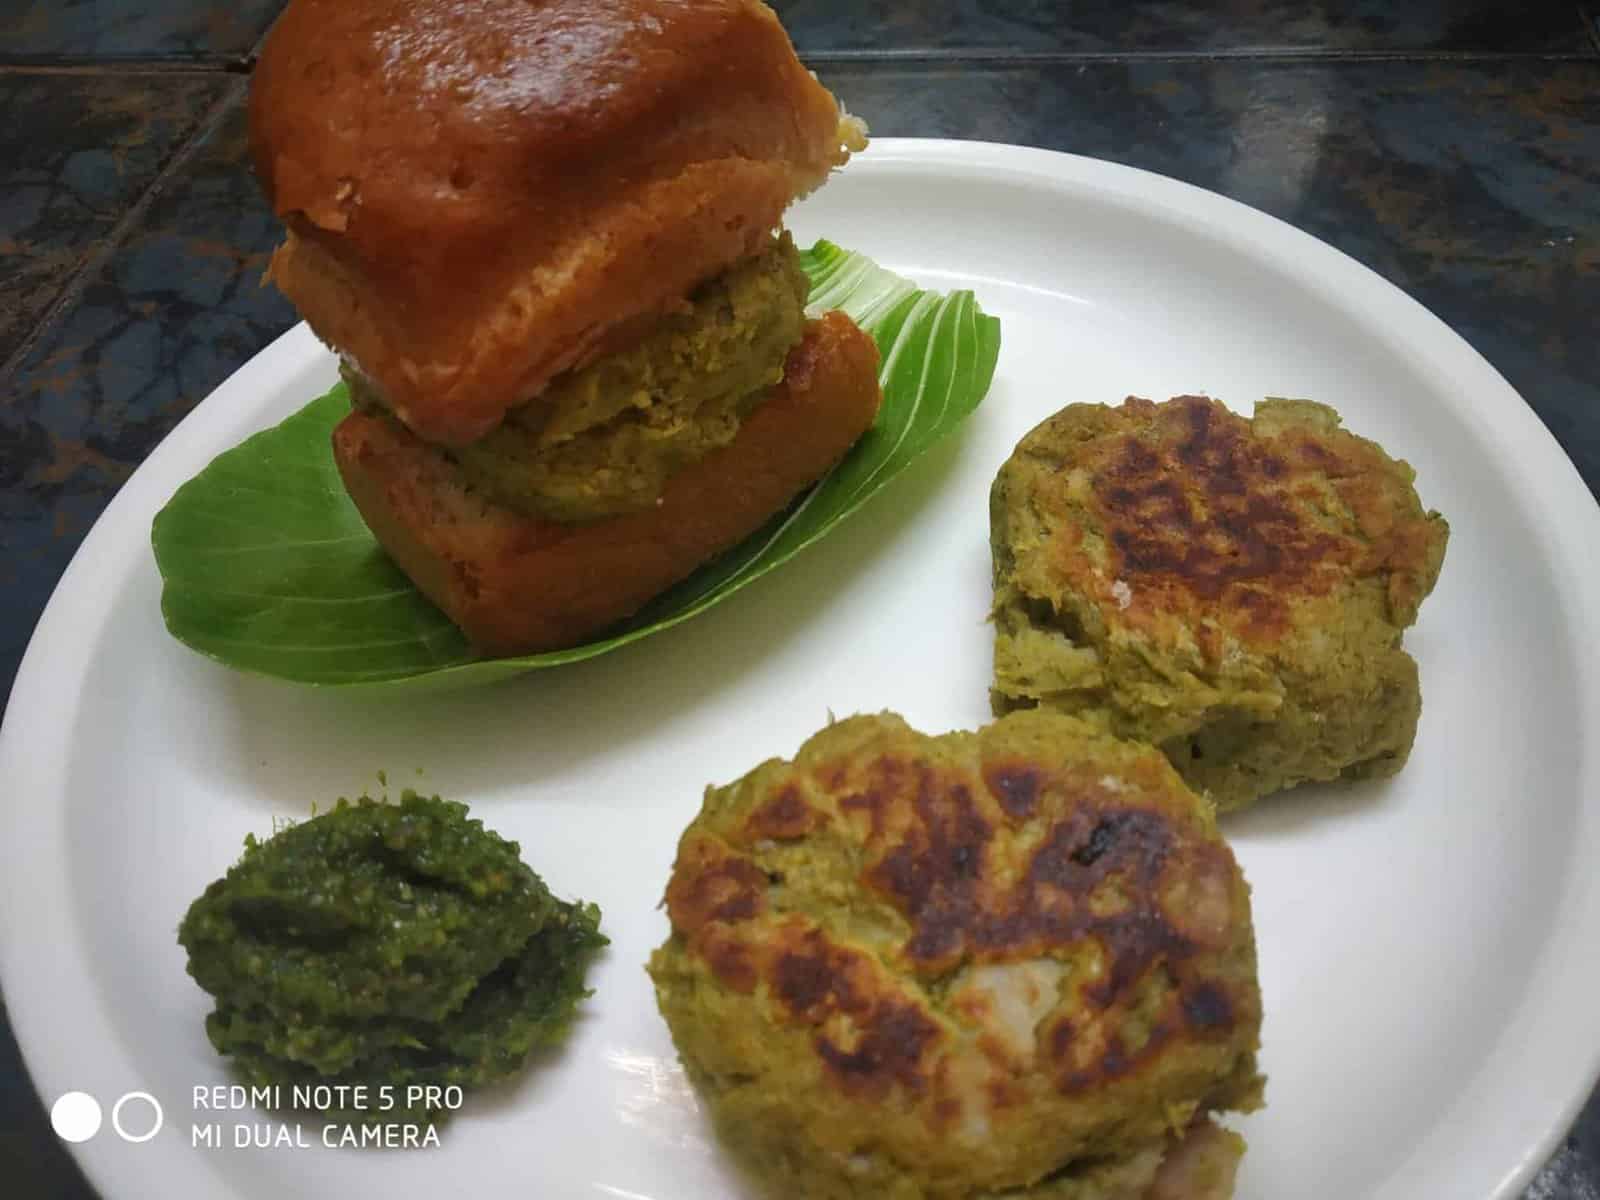
Crispy Arbi Tikki: Healthy & Delicious Taro Root Patties
30 minutes
675 reads

About Crispy Arbi Tikki: Healthy & Delicious Taro Root Patties
Craving a crispy, flavorful snack that's both healthy and satisfying? These Crispy Arbi Tikki, also known as Taro Root Patties, are a delicious way to enjoy the earthy goodness of taro root.Arbi, packed with fiber and known for its blood-sugar-regulating properties, is spiced and herbed then pan-fried to golden perfection. These irresistible patties are perfect as a light meal or a crowd-pleasing appetizer.Serve them with a vibrant green chutney for a burst of fresh flavor that will tantalize your taste buds. Trust me, these tikki are an absolute must-try!

Stop Thinking About What to Cook Every Day
Weight loss, PCOS, and Healthy Eating, all planned out for you. Just follow the plan and cook. From ₹399.
Recipe Time & More
Prep10 minutes
Cook20 minutes
Total30 minutes
Ingredients
Arbi (Taro Root)
- 250 gm Taro Root arbi, taro root
Spices & Flavorings
- 2 tbsp Gram Flour roasted
- 1 tsp Garam Masala
- 1-2 tsp Salt or to taste
Instructions
- Boil the arbi until tender. This will take about 20-25 minutes, depending on the size of the arbi. You'll know it's done when a fork easily pierces the center.

- Once the arbi has cooled slightly, peel off the skin. The skin should come off easily when cooked properly.
- Mash the peeled arbi thoroughly in a large bowl. Ensure there are no large lumps for a smooth tikki texture.
- Add the roasted gram flour, garam masala, and salt to the mashed arbi.
- Add the green chutney to the arbi mixture. Mix everything thoroughly until well combined.
- Heat the oil in a large skillet over medium heat. Ensure the oil is hot enough to prevent the tikkis from sticking.
- Shape the arbi mixture into small, flat patties. Shallow fry the tikkis for about 3-4 minutes per side, or until golden brown and crispy.
- Serve the crispy arbi tikkis hot with your favorite green chutney. These are delicious on their own or enjoyed with bread or a bun.


Recipe Notes
Expert Tips
- For a richer flavor, consider using bone-in chicken thighs instead of boneless, skinless breasts.
- Adjust the spices to your liking. If you prefer a milder dish, reduce the amount of chili powder or cayenne pepper.
- Don't overcrowd the pan when browning the chicken. This will ensure the chicken cooks evenly and develops a nice crust.
Storage Instructions
- Store leftover chicken and sauce in an airtight container in the refrigerator for up to 3 days.
- Reheat gently on the stovetop or in the microwave.
Recipe Video
Related Posts You May Like
 with Homemade Mango Sauce - Plattershare - Recipes, food stories and food lovers")

 with Amla (Indian Gooseberry) - Plattershare - Recipes, food stories and food lovers")
 with Aromatic Spices - Plattershare - Recipes, food stories and food lovers")


Recipe Nutrition
Calories: 330kcalCarbohydrates: 45gProtein: 5gFat: 15gSaturated Fat: 1gPolyunsaturated Fat: 4gMonounsaturated Fat: 9gTrans Fat: 0.1gSodium: 1310mgPotassium: 956mgFiber: 8gSugar: 1gVitamin A: 310IUVitamin C: 7mgCalcium: 75mgIron: 2mg

Geeta Biswas
Articles: 919
5 Comments
Leave a Reply
You must be logged in to post a comment.


What a delicious idea! Thanks for sharing.
What a flavorful dish! Thanks for sharing.
Absolutely delicious! Thanks for sharing.
I’m eager to make this recipe!
This is perfect! Can’t wait to taste it.