Soft & Flavorful Radish Paratha: A Step-by-Step Guide
25 minutes
860 reads

About Soft & Flavorful Radish Paratha: A Step-by-Step Guide
Imagine biting into a warm, subtly spicy flatbread bursting with the fresh, earthy flavor of radish. These aren't just any flatbreads; they're radish parathas, and they're about to become your new favorite way to enjoy this healthy root vegetable.Radishes, known for their liver-supporting benefits, take center stage in these wholesome and delicious parathas. Our simplified recipe takes the guesswork out of making the dough, guaranteeing perfectly soft and flavorful results every single time. Whether you're craving a satisfying breakfast, a light lunch, or a comforting dinner, these versatile parathas are a delightful culinary adventure. Follow our easy guide and experience the joy of homemade radish parathas.

Stop Thinking About What to Cook Every Day
Weight loss, PCOS, and Healthy Eating, all planned out for you. Just follow the plan and cook. From ₹399.
Recipe Time & More
Prep10 minutes
Cook15 minutes
Total25 minutes
Ingredients
Filling
Dough
- 1 cup Whole Wheat Flour whole
- 1 tsp Onion Seeds
- 2 tbsp Oil for the dough
- Oil as needed, for cooking the parathas
Instructions
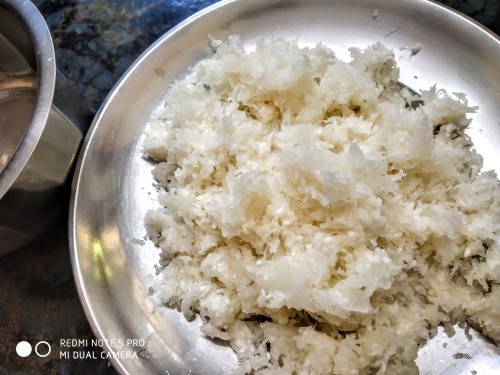
- Grate the radishes. Using a clean kitchen towel or cheesecloth, squeeze out as much excess water as possible. This step is crucial for preventing a soggy dough.

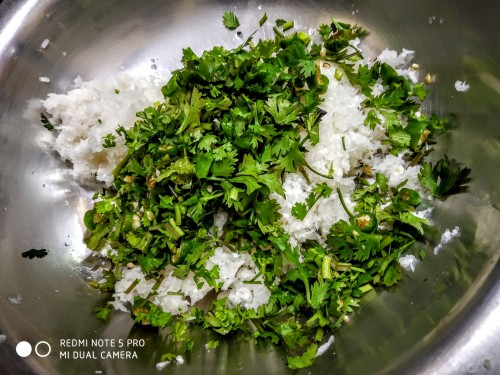
- In a large bowl, combine the grated radish, chopped green chili, chopped cilantro, and salt.
- Add the whole wheat flour and onion seeds to the radish mixture.
- Add 2 tablespoons of oil to the dry ingredients. Gradually add water, mixing until a soft, pliable dough forms. Knead the dough for 2-3 minutes until smooth. This develops the gluten and results in softer parathas.
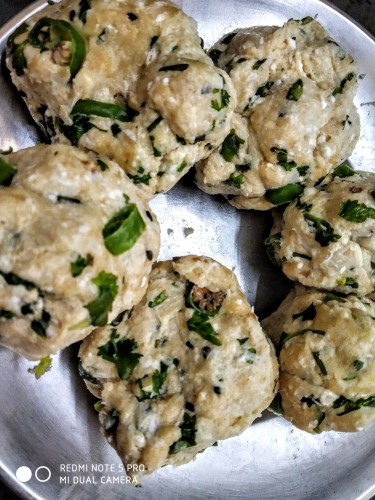
- Divide the dough into equal-sized balls.

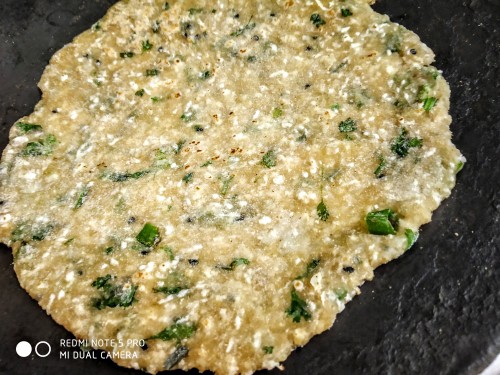
- On a lightly floured surface, roll each dough ball into a thin circle using a rolling pin.
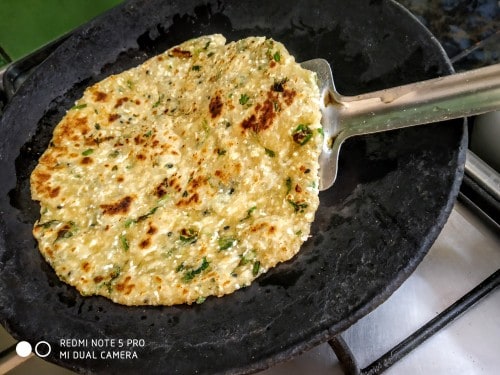
- Heat a griddle or flat pan over medium heat. Add a little oil to the hot surface. Cook each paratha for 2-3 minutes per side, or until golden brown spots appear and the paratha is cooked through. Serve hot with your favorite accompaniments.


Recipe Notes
Good To Know
- After grating the radish, sprinkle a little salt over it and let it sit for 10-15 minutes, then squeeze out all the excess water. This helps prevent the parathas from becoming soggy and makes the dough easier to handle.
- If you enjoy extra crunch, try mixing a small handful of finely chopped radish leaves or spring onions into the stuffing for added flavor and texture.
- To achieve an even, golden crust, brush each paratha with a touch of ghee or oil only after both sides are partially cooked, then continue to roast until crisp and aromatic.
- For a vegan version, simply use oil instead of ghee for roasting, and serve with your favorite non-dairy yogurt or spicy pickle.
Expert Tips
- For a richer flavor, try adding a tablespoon of grated ginger or a pinch of asafoetida to the radish stuffing.
- Don't overcrowd the pan when roasting the parathas. Cook them in batches to ensure even browning and crispiness.
- Experiment with different flours! While whole wheat flour is traditional, you can also try using a combination of whole wheat and all-purpose flour, or even add a bit of chickpea flour for a nuttier flavor.
Storage Instructions
- Leftover parathas can be stored in an airtight container at room temperature for up to a day, or in the refrigerator for up to 3 days. Reheat them on a dry skillet or in a toaster oven until warmed through and crispy.
Related Posts You May Like

 - Plattershare - Recipes, food stories and food lovers")


Recipe Nutrition
Calories: 219kcalCarbohydrates: 46gProtein: 6gFat: 1gPolyunsaturated Fat: 0.3gMonounsaturated Fat: 0.6gSodium: 1710mgFiber: 2g

Geeta Biswas
Articles: 919
5 Comments
Leave a Reply
You must be logged in to post a comment.


Looks so mouthwatering! Thanks for sharing.
This is so tempting! Thank you.
Looks so good! Can’t wait to try it.
Absolutely mouthwatering! Thanks for sharing.
I’m excited to make this at home!