How to Time Sweet Bakery Prep for a Busy Café: Planning Your Dessert Display Around Service Demand
3
reads

Busy cafés lose sweet sales when the timing is off – too much ready too early, or too little ready when the queue builds. The fix is simpler than it sounds: plan backward from your service time rather than forward from whenever prep happens to start.
Table of Contents
Start From Service Time and Work Backward
First-service readiness is the anchor for the whole day. If the doors open at 8, the opening display should be ready at 8 – not at 8:20 after a last-minute rush to plate. Working backward from that target keeps prep tied to demand instead of guesswork.
There is no single prep duration that fits every product. Each thaw-and-serve or bake-from-frozen item has its own method, and that method sets the elapsed time from freezer to display-ready. Staff also need measured minutes for unwrapping, spacing trays, date-labelling, and moving product to the case.
To build the morning plan:
- Write down the service time first
- Work backward through each required stage – manufacturer’s thawing method and duration, your café’s handling time, and a realistic buffer for routine interruptions
- Count tasks before or after thawing separately, without double-counting work already included in the manufacturer’s process
- The result is a planned start time – not permission to shorten preparation if service gets busy
Understand the Difference Between Elapsed Time and Hands-On Time
These are not the same thing, and confusing them is where prep timing often goes wrong.
Elapsed time is clock time – how long the product needs from the moment it leaves the freezer to the moment it is display-ready. Hands-on time is actual staff time – the minutes someone needs to be actively doing something with the product.
Thaw-and-serve formats separate the two. The product moves toward ready while staff get on with other jobs. Hands-on work starts with pulling product from the freezer and checking dates, then picks up again at the end when it transfers to the display.
This split makes allocation easier. If the elapsed time is long but the hands-on time is short, one person can start a tray and another can finish it. That keeps the till covered while product waits in its thawing slot. The log should show who started each tray.
Product choice affects the schedule. Ranges like Kara Foodservice’s frozen thaw-and-serve muffins, scones and doughnuts each carry their own preparation instructions. Check the method for each product individually before assigning it a slot – sharing a format does not mean sharing a thawing time.
Decide Whether a Second Batch Earns Its Place
Staggered batches work when they follow your café’s actual sales pattern. Till reports or simple hourly piece counts show when sweet demand rises and when it drops. There is no fixed clock that fits every site – the plan has to come from your own numbers, and those patterns shift with weather and local events.
A second batch needs to justify itself. Demand should show in the sales counts, and preparation must start early enough to complete the required thawing before the next service window. That often means starting the second batch before the first rush rather than waiting for a quiet gap. Assign the hands-on tasks to staff who can complete them without leaving the counter uncovered.
Overproduction ties up labour and fills the waste bin. Track how many pieces go unsold per product each day and review the totals at the end of the week. If a line consistently leaves leftovers, trim the next batch rather than accepting waste as normal.
Optional finishes – a dusting of icing sugar or a chocolate drizzle – add handling minutes and may add an allergen check. Only add them when there is time to do them cleanly and space to hold the finished product within its required conditions.
Build Food Safety Into the Schedule
Allergen controls belong in the prep plan, not as an afterthought once product is on the counter. If your procedures require dedicated equipment or a cleaning step between products, that time needs a slot in the schedule. A quick wipe alone is not a reliable cross-contact control.
Check current ingredient information for every bakery item and any toppings before service. Vegan does not mean allergen-free, and menu claims should only reflect what the ingredients and preparation process actually support.
Date-marking and storage rules set the outer limits. Follow the manufacturer’s instructions and your café’s food safety procedures for how long prepped product may be held and where it must be kept. If labels or allergen sheets are not current, hold the product until they are – and keep those records where the next shift can find them without asking.
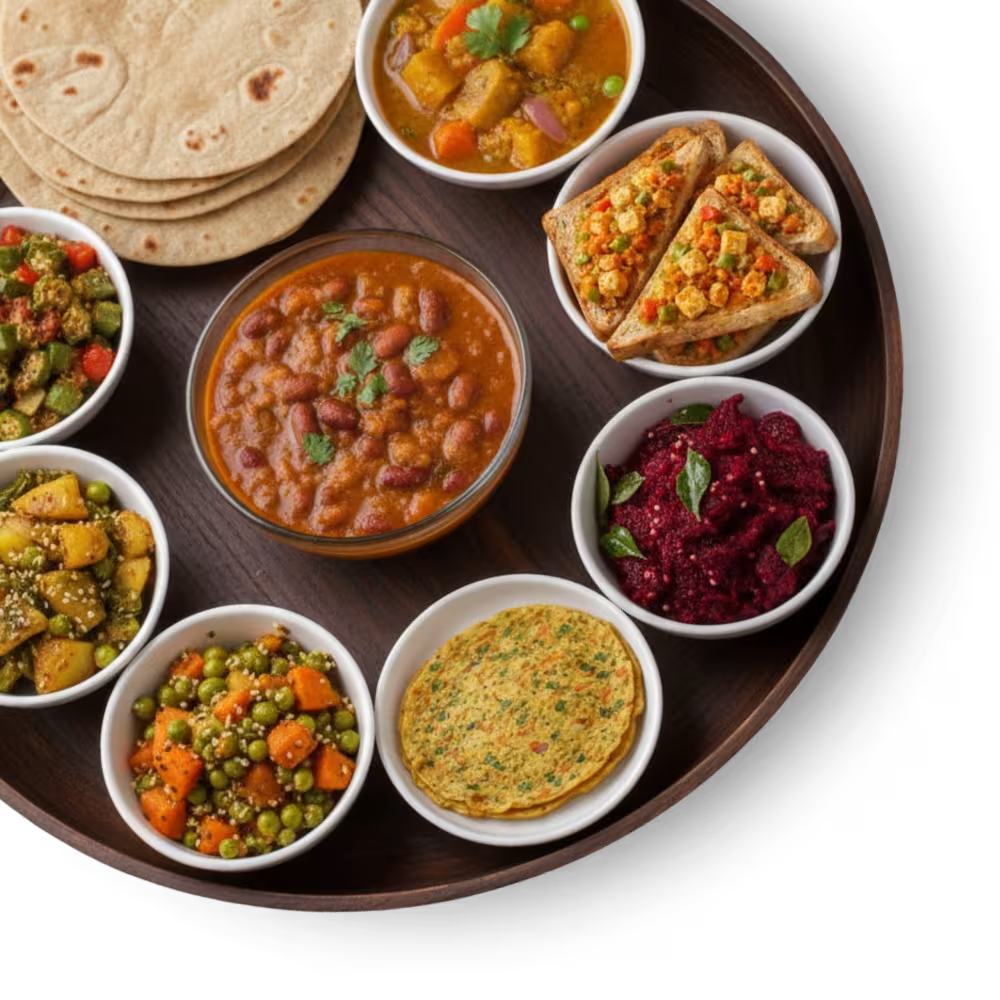
Stop Thinking About What to Cook Every Day
30 days of Indian vegetarian meals planned for you. Recipes, a Grocery List and a Fridge Chart included. Just open the plan and cook.
See the 30-Day PlanHandovers Are Where Good Timing Breaks Down
A well-planned morning prep means nothing if the afternoon shift does not know what is left to finish. Notes should state what was pulled, what is still thawing, and when each tray comes ready. A short written log beats memory during a service rush.
Batch Prep Log Template
Use a simple sheet for each batch:
- Service target: ___
- Product and format: ___
- Required method and elapsed thawing time: ___
- Hands-on tasks and display setup time: ___
- Planned start time, including buffer: ___
- Storage conditions and use-after-thaw deadline: ___
- Ingredient, allergen and date-label checks: ___
- Batch owner and next handover: ___
Good prep timing is not about working faster. It is about starting at the right moment, writing down what happened, and using that daily record to adjust the next batch to actual demand. A case that is ready when the queue builds – and not full of waste at closing time – is the result of a plan, not luck.
Related Posts You May Like