How to Make Café-Quality Pour-Over Coffee at Home: Easy Steps
2
reads

You buy good coffee beans, take your time brewing, and still end up with a cup that tastes sharp or flat. Meanwhile, your favorite café seems to get it right every time. The difference often comes down to a few small details in how the coffee is prepared.
A reliable pour-over starts with freshly ground beans, a 1:16 coffee-to-water ratio, water around 93°C (200°F), and slow, controlled pouring.
You don’t need professional barista skills or an elaborate setup. A few simple adjustments can help you make a more balanced cup, with a method that’s easy to repeat each morning.
Table of Contents
Start With Fresh Coffee Beans
Good coffee starts before you turn on the kettle. Look for whole beans with a clearly printed roast date.
A medium roast is a friendly starting point, often offering a balance of sweetness and acidity, although the flavor depends on the beans themselves.
Grinding just before brewing helps retain the aromas released when coffee beans are broken apart.
If pre-ground coffee is more convenient, buy smaller quantities suited to filter brewing and seal the package carefully after each use.
Keep Coffee Beans Fresh Between Brews
Store beans in an airtight, opaque container in a cool cupboard, away from direct sunlight, moisture, and heat from the stove. Close the container promptly after use and always reach for a dry scoop.
Buying smaller bags can help, too. There’s little benefit in stocking up on more coffee than you’ll use while it’s fresh. An opened bag sitting beside a sunny kitchen window, for example, faces unnecessary exposure to heat and air.
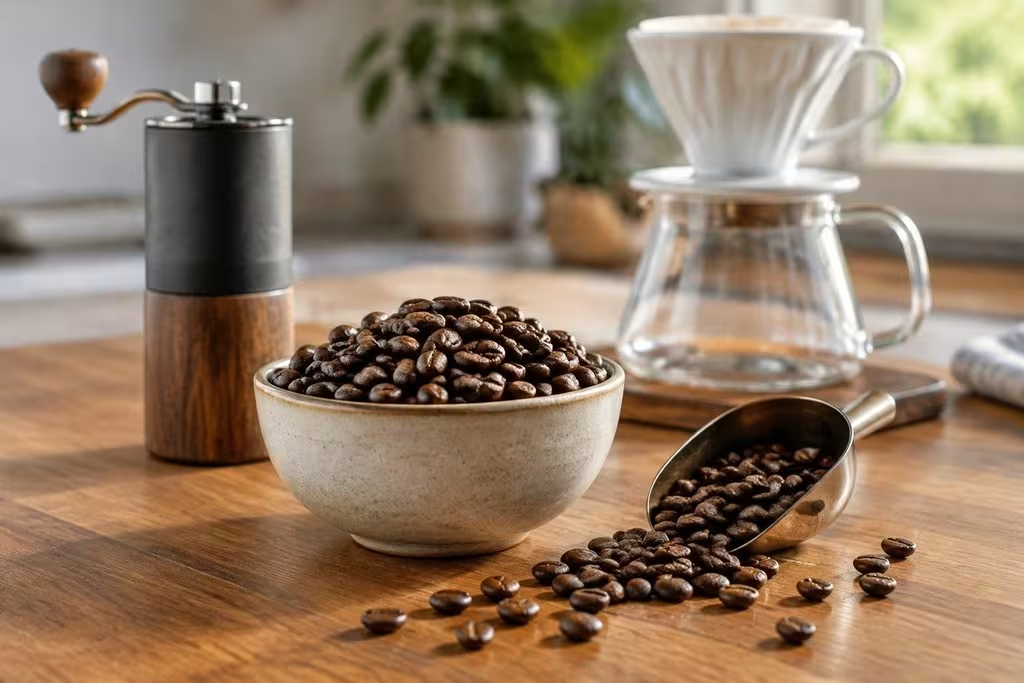
Get the Grind Size Right
For most small pour-over drippers, a medium to medium-fine grind is a sensible place to begin. Think of a texture similar to granulated sugar, then adjust according to your brewer and how the coffee tastes.
Grind size affects how quickly water passes through the coffee and how much flavor it extracts. Very fine grounds can slow drainage and contribute to harsh, bitter flavors. Grounds that are too coarse may drain quickly, producing coffee that tastes weak or unpleasantly sour.
Is Your Coffee Ground Too Fine or Too Coarse?
Watch how the coffee drains, then taste the result.
If water takes unusually long to pass through and the coffee tastes harsh, try grinding slightly coarser. If it drains quickly and tastes sharp or thin, a finer grind may help.
A burr grinder produces more consistent particle sizes than a typical blade grinder, making these small adjustments easier to manage.

Stop Thinking About What to Cook Every Day
Healthy Eating, Kids Tiffin, PCOS and Weight loss meals, all planned out for you. Just follow the plan and cook. From ₹299.
Measure Your Coffee and Water
One of the simplest ways to improve consistency is to stop guessing how much coffee you’re using.
Start with 20 grams of ground coffee and 320 grams of brewing water, giving you a 1:16 ratio by weight. A digital scale makes this more reliable than measuring with a spoon, where the amount can vary depending on the beans and how the coffee is scooped.
A Simple Pour-Over Coffee Recipe for One
Yield: One generous serving
Prep time: About 5 minutes, including heating the water
Brewing time: Approximately 2½ to 4 minutes
Ingredients:
- 20 g freshly ground coffee
- 320 g brewing water, plus extra hot water for rinsing
| Recipe detail | Starting measurement |
| Coffee-to-water ratio | 1:16 |
| Water temperature | Approximately 93°C (200°F) |
| Bloom water, included in total | 40 to 50 g |
| Bloom duration | 30 to 45 seconds |
These measurements are a starting point, not a fixed rule. Water between approximately 90°C and 96°C (194°F to 205°F) works for many pour-over methods, with the ideal temperature depending on the coffee and brewer. Use fresh water that tastes pleasant on its own.
The Few Tools That Make Brewing Easier
You don’t need a countertop full of equipment to make good pour-over coffee. A dripper, matching paper filters, a heatproof mug or carafe, and a kettle cover the basics.
A digital scale is particularly useful because it lets you measure both the coffee and the water as you pour. A burr grinder helps with consistency, while a gooseneck kettle gives you better control over where and how quickly the water flows.
An airtight canister is handy for keeping unused beans protected between brews. Collections of Fellow coffee gear provide examples of grinders, gooseneck kettles, and coffee-storage tools designed for these everyday tasks.
There’s no need to replace everything at once. A regular kettle and appropriately ground coffee can still produce an enjoyable cup. If you brew daily, start with the tools that help you measure and repeat your recipe.
Brew Your First Café-Quality Pour-Over Coffee
With your beans, measurements, and equipment ready, it’s time to brew.
Keep the scale beneath your brewing setup throughout the process so you can track each pour toward the same 320-gram total. Heat a little extra water for rinsing the filter, then prepare your brewing water at approximately 93°C.
Step 1: Rinse the Filter and Warm the Brewer
Place a paper filter inside your dripper and set it over a heatproof mug or carafe.
Pour hot water through the empty filter to rinse away potential paper taste and warm the equipment. Discard the rinse water before adding any coffee.
Set the dripper and vessel on your scale.
Step 2: Add the Freshly Ground Coffee
Weigh 20 grams of whole beans and grind them to a medium or medium-fine texture suited to your dripper.
Transfer the grounds to the filter and give the dripper a gentle shake to level the coffee bed. Reset your scale to zero so it measures only the brewing water.
Step 3: Bloom the Coffee
Start your timer as you slowly pour 40 to 50 grams of hot water over the grounds. Aim to wet all the coffee evenly.
Let it sit until approximately 30 to 45 seconds have passed from the beginning of the pour.
You may notice the grounds swelling or releasing small bubbles. This is the bloom, when gases trapped during roasting escape as the coffee becomes wet.
Step 4: Pour Slowly and Evenly
Continue adding water in gentle circles, moving outward and inward without repeatedly pouring directly against the paper filter.
Work in stages, allowing the water level to drop slightly between pours. Keep the stream steady rather than pouring so forcefully that it churns the coffee bed.
Use this flexible schedule to keep track of your water:
| Time from first pour | Action | Total water added |
| 0:00 | Bloom the coffee | 40 to 50 g |
| 0:30 to 0:45 | Begin the next pour | Gradually reach 160 g |
| After the water level falls | Continue pouring | Gradually reach 240 g |
| After another brief pause | Finish pouring | 320 g |
The measurements are cumulative, so the blooming water counts toward your final total.
Step 5: Let the Coffee Finish Draining
Once you’ve added all 320 grams of water, allow the remaining liquid to pass through the grounds naturally.
A total brewing time of roughly 2½ to 4 minutes is a useful initial reference, although different filters, drippers, and coffees may drain faster or slower.
Remove the dripper, gently swirl the coffee in the carafe, and let it cool enough to taste comfortably. The flavor may become easier to judge as the coffee cools slightly.
Fix Common Pour-Over Coffee Problems
Your first attempt doesn’t need to be perfect. Even experienced home brewers adjust their grind or pouring technique when switching to a new bag of beans.
The trick is to change one thing at a time. Otherwise, it’s difficult to tell which adjustment actually improved the cup.
What to Adjust When Your Coffee Doesn’t Taste Right
| Problem | Possible cause | What to try |
| Sour or sharp | Under-extraction | Grind slightly finer |
| Bitter or harsh | Over-extraction | Grind slightly coarser |
| Weak or watery | Too little coffee | Increase the coffee dose slightly |
| Slow draining | Fine grounds or a clogged filter | Try a coarser grind |
| Inconsistent flavor | Uneven pouring | Pour more steadily |
These are useful clues rather than certain diagnoses. Roast characteristics, water quality, and the brewing method can also affect flavor.
If your coffee remains unpleasantly sharp after adjusting the grind, slightly hotter water may help. For a harsh-tasting dark roast, try a lower temperature within the suggested range.
Keep a brief record of your grind setting, brewing time, and how the coffee tastes. A balanced cup matters more than hitting an exact time on the timer.
Make Your Next Cup Better Than the Last
Great pour-over coffee is less about mastering complicated techniques and more about finding a routine that works.
Start with fresh beans, measure your ingredients, and give the water time to move evenly through the grounds. If something tastes off, make one small adjustment during your next brew.
Once you find a combination you enjoy, keep those measurements handy. You’ll spend less time guessing and more time enjoying your coffee.
And that’s one of the pleasures of brewing at home: a few familiar steps, the aroma of freshly ground beans, and a good cup made just the way you like it.
Related Posts You May Like
-

-
-
-
-
-
The Best Ways To Enjoy A Cup Of Coffee
1352 reads