Chicken Dum Biryani

Advertisement
Yummy Chicken Dum Biryani!
Advertisement
Ingredients
- Rice - about 2 medium sizes katoris - prefearbly long grain basmati
- Chicken - about 750 gms for about 4 people of your size (2 if they have an apetite like mine)
- Plain Natural Yogurt - 300 gms for marination
- Onions - For marination & garnish: about 3 medium sized onions chopped in long n thin pieces
- Onions - For the masala - about 3 medium sized onions very finely chopped, but not ground to paste
- Tomatoes - 4 medium sized finely chopped fresh red tomatoes avoid puree
- Masale - Khade masale by andaaza: Jeera Heeng, Kali mirch, moti ilayichi, lakdi and patta (dal chini & tej patta), laung
- Masale - Powdered masale again by andaaza: Salt, red chilly pwdr, dhaniya pwdr, garam masala (if you want, you can try a biryani masala instead - it works equally well)
- Green chillies - to taste - about 3-4 finely chopped ones would be good
- Garlic - about 5-7 pods finely chopped or medium sized if you like the flavour like I do
- Ginger - one large sized piece grated
- Fresh coriander leaves
- Ghee - again an andaaza (purely depending on how healthy you want the biryani to be; though chicken has its own oiis so I wouldn't put just enough so the chicken doesn't stick to the utensils
- About 250 gms of very hard less water content dough for sealing the bhagona!
Advertisement
Instructions
- Marination: Add (andaaze se) some red chilli pwdr, salt, haldi, dhaniya, garam masala etc into the yogurt and mix till they leave an even colour to the curd
- Put the chicken pieces into this mixture.
- If you think the pieces are more than medium sized, you can try slitting them through with a sharp knife for the yogurt and spices to seep through as deep into them as possible.
- We careful not to cut it through n through - you'll end up with small pieces, which is not the best thing for a Biryani.
- Shallow fry the long sliced onions till they are dark-ish brown.
- They might almost look like they're burnt, but make sure they are crisp when you take them off the kadhai
- Mix 75% of the onions with the yogurt & spices dipped chicken and mix well so the onions stick around the chicken pieces along with the yogurt and spices.
- Keep 25% aside for garnishing.
- Leave the mixture to marinate for as long as you have - anywhere between 3 hours to an overnight marination is good; the more the better.
- The Gravy: Heat about 2 tbsp of ghee in a bhagona (An earthen put is best for which you have a cover, or a plate that is just about the size of the top opening.
- If you don't have an earthen pot, any aluminium bhagona is good. Avoid steel - I've never been able to not end up sticking some biryani to the base and it burns to give a foul smell to the lowermost portion)
- Once the ghee is hot enough to splatter the masale, add, in the following order: Heeng, then Jeera and the remaining khade masale, and finally the green chillies, ginger and garlic
- Saute them for a while on medium - high flame till the garlic pieces are slightly darker than golden brown
- Add the finely chopped onions to the mixture and saute the whole mixture
- Sprinkle some salt over the onions - this makes the whole mixture crystallize and gives a slight shine on the surface
- Keep sauteing till the onions are slightly darker than golden brown - the closer they are to being dark brown the better.
- Add the finely chopped tomatoes into the onion mixture, mix them well.
- Cover and simmer the flame for about 10 minutes. You will notice the tomatoes gradually become a puree as you keep sauteing the mixture.
- At some point, after about 7-8 minutes, add all the spices that you have to, to the onion - tomatoes mixture.
- Mix the mixture well and simmer for about 5-7 minutes.
- This is probably the last time when you can taste the biryani, unless you really want to lick some raw chicken pieces after this.
- So make sure the spices are right.
- In fact, this mix should be spicier than normal as there wil be a lot of rice that mixes with this.
- So spices should be on the higher side, about 25% more than what you would normally put in chicken curry.
- Once you think the onions and tomatoes have blended well enough, add one by one, the chicken pieces that are now seeping in the yogurt and fried onion mix.
- Once all the chicken pieces are in the pot, pour over it the leftover spiced curd
- Now simmer and let the mixture cook for some time.
- The Rice:
- Add about 6 times the water in rice - you have to drain out the water for best results.
- Cook therice only to about 70% cooked and drain out the excess water immediately so the rice doesn't cook itself in the steam / boiling water
- The Dum of the Biryani: Remember - the chicken and rice are NEVER mixed together!
- Once you are sure that the chicken is about 60-70% cooked by the tenderness, saute the chicken mix in such a way so as to form an evel levelled surface at the top of it in the bhagona.
- The chicken at this point should only be semi-gravy. Not too wet, not too dry. It should be only slightly wet as the rice will get cooked in its steam from hereon.
- Pour the 70% cooked rice over the chicken and spread evenly with a very light hand. Make sure none of the rice actually goes below any layer of chicken.
- Once you have evenly spread the semi-cooked rice over the semi-cooked chicken, cover the bhagona with a lid.
- On covering the lid, keep a HEAVY object (I used my metal Krishanji statue, who happens to love chicken!) on top of the lid so no air escapes.
- It's impossible to ensure zero air escaping, but the heavier the Krishanji, the better 🙂 (P.S. No disrespect to anyone's sentiments intended)
- Now cover all contact points between the bhagona and the palte with the hard dough you have prepared.
- Leave the bhagona on simmer.
- So how do you know when its ready? Keep splashing with your fingers, tiny droplets of water on the surface of the bhagona near the flame.
- Initially for the first 10-odd minutes, the water that you splash sticks to the surface, starts flowing downwards a little and gradually evaporates de to the heat.
- Keep doing this every 2 minutes after about 10 minutes of simmering. When you observe that the water evaporates as soon as you splash, without dripping down, you know that the chicken and rice, both are cooked, ready to be served.
- Switch off the flame, let the steam build for another 5-7 minutes till you prepare the dinner table.
- Remove the dough - this is a painful process. Make sure none of it pops into the biryani!
- Uncover the lid, and serve vertical layers of the biryani, garnished with the crispy onions (25% saved from marination earlier) as you watch yourself and the others in the room hog it away to glory!
- Variations (optional)
- You could add hard boiled eggs - cut into half with the biryani.
- Best way I have found is to place 2 halves face down at the bottom of a medium sized bowl, pour the layered biryani over it, and invert the bowl's contents on a plate, so the eggs (yolk side) appear at the top on the plate over the boryani.
- Boiled baby potatoes (the ones you would use in Dum-Aloo are a good bet too, when added along with the gravy before pouring the rice!
Advertisement
Recipes You May Also Like
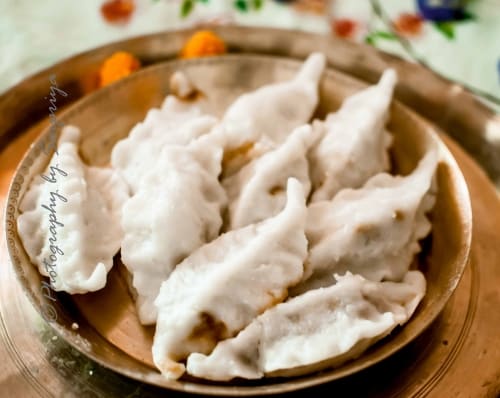
Monda Pitha
May 11, 2022
Posted under - Vegetarian
Pitha is very common in Odisha and there are many varieties to it like “Podo Pitha”, “Kakara Pitha” ,”Monda Pitha”,…

Bell Pepper Omelette
May 11, 2022
Posted under - Contains Egg
Bell Pepper Omelette is a healthy breakfasr option. A unique way to have an egg. Start the day with high…
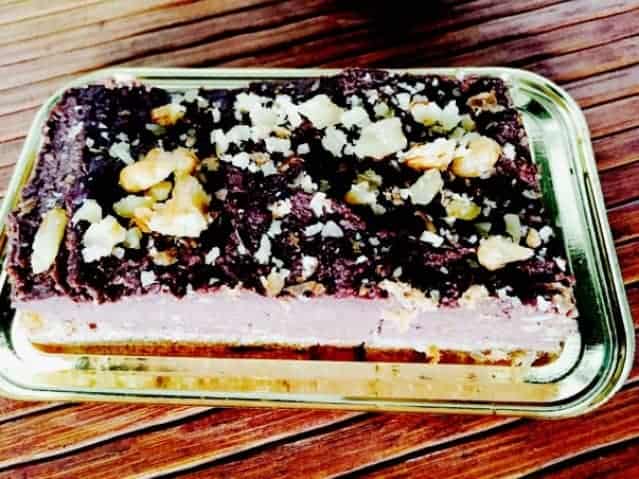
Tofu-Choco Mud Pie (Guilt Free Eating)
May 11, 2022
Posted under - Vegetarian
Yipeeee! its time for some sweet tooth :)must be thinking me talking about sweets yess!! Its sweet, its yummy &…
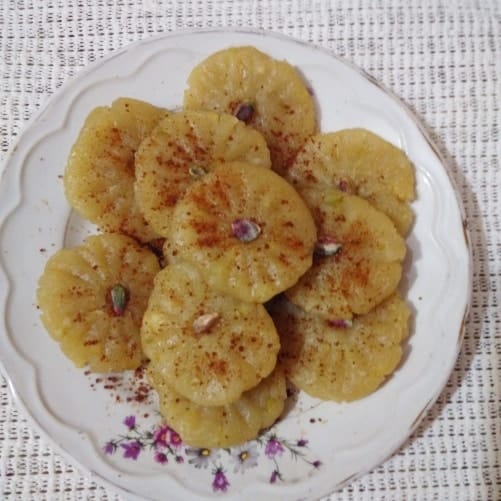
Sandesh With Bean’S Seeds
May 11, 2022
Posted under - Vegetarian
Sandesh is such a recipe which can serve in any occasion. So Bengali people always think for new experience. I…
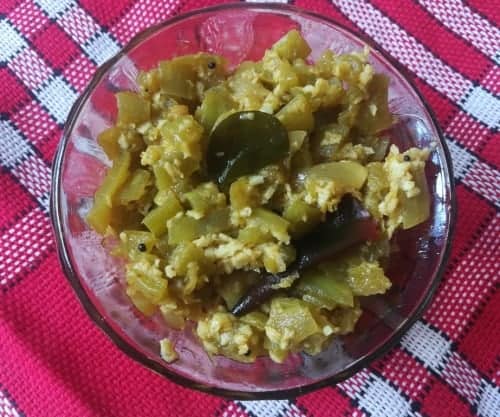
Pudalangai Poriyal Recipe – How To Make Pudalangai Poriyal Recipe? Snake Gourd Recipe
February 18, 2024
Posted under - Vegetarian
Pudalangai poriyal recipe also know as snake gourd recipe and potlakaya fry. Pudalangai poriyal recipe is a simple healthy poriyal…

Cocoa Cocunut Rolls Using Kalya Cocoa Powder.
May 11, 2022
Posted under - Vegetarian
This is a dessert which I am eating since my childhood. My mother used to make this for us in…
Articles You May Also Like
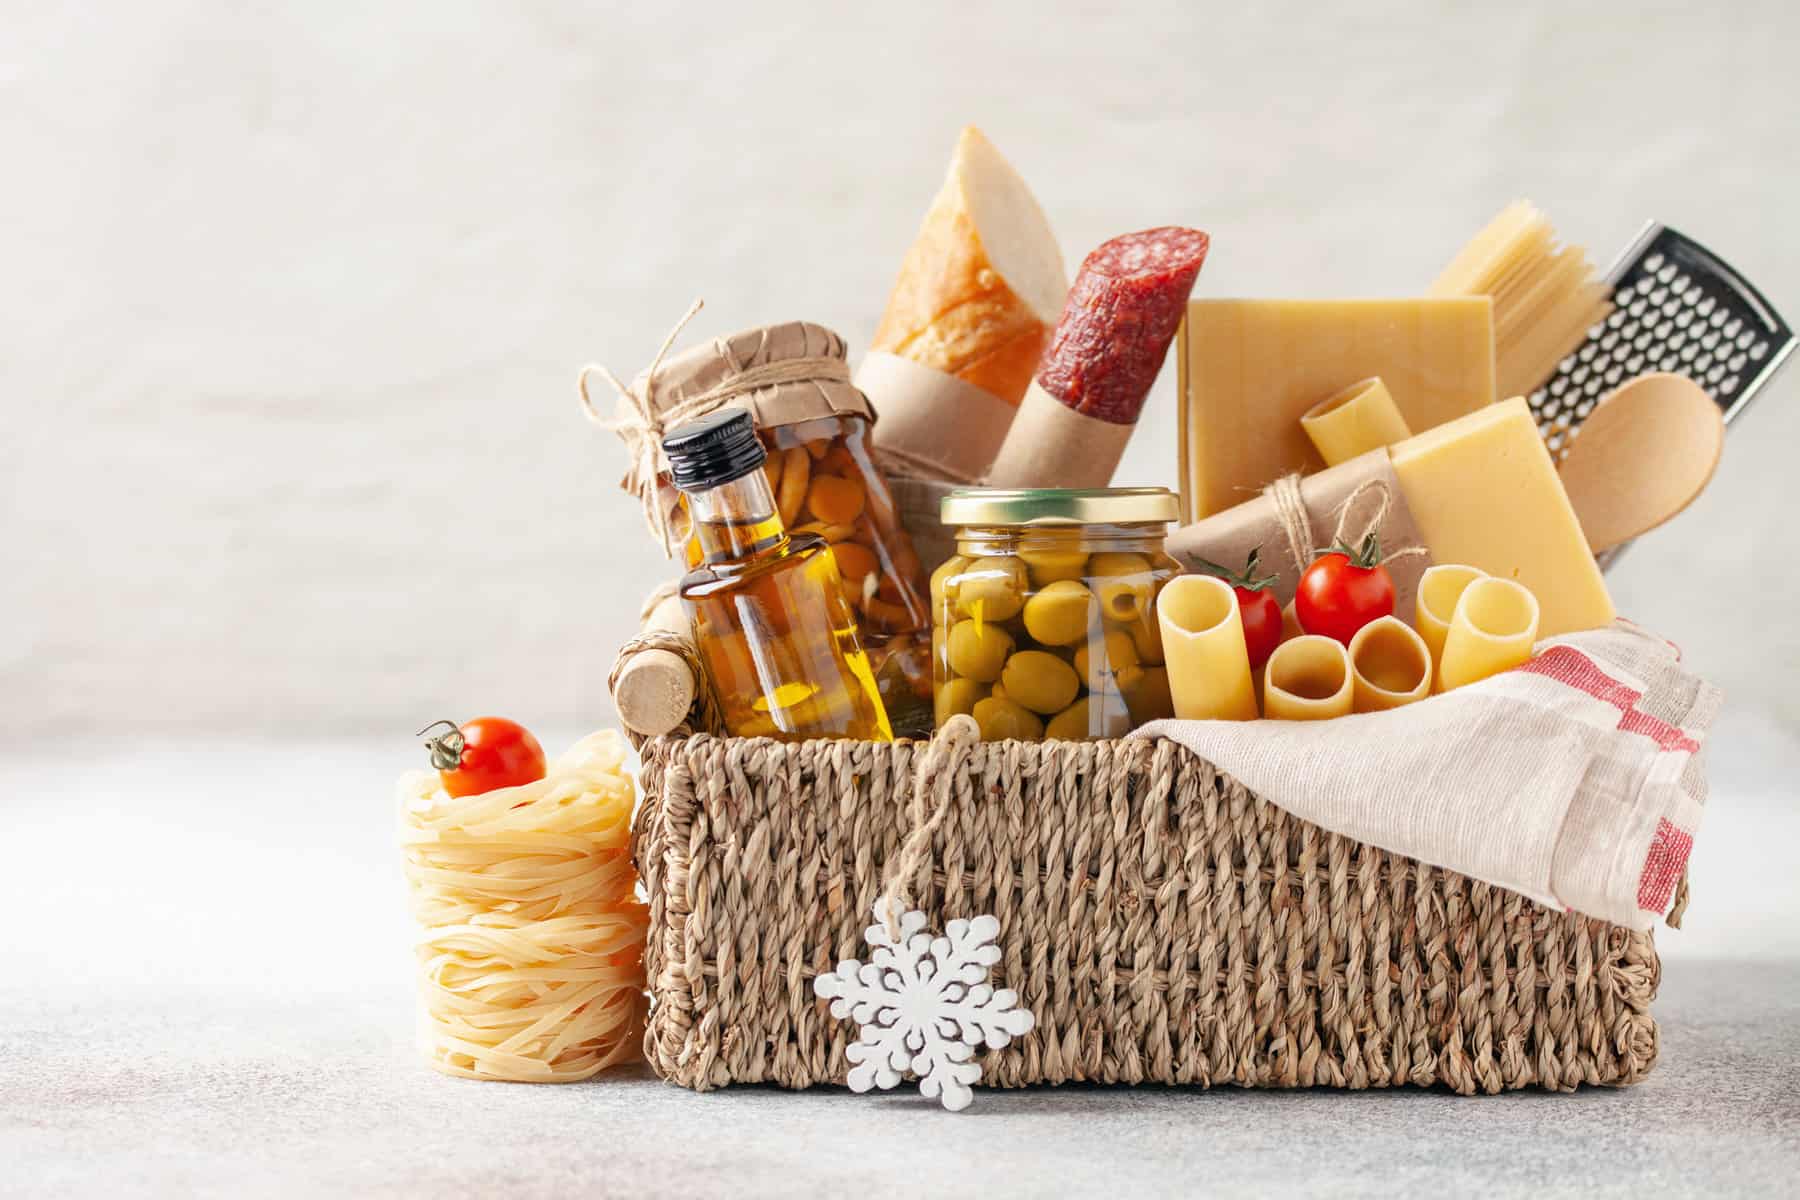
8 Epic Gift Ideas For The Cheese Lover In Your Life
February 1, 2023
Giving gifts is a great way to show appreciation to anyone. It doesn’t matter if you’re celebrating a birthday or a holiday; everyone appreciates receiving…
Fuel Helps You Decide Whether To Rent Or Own
March 2, 2019
Once you have decided to make the switch to propane, the next step becomes making plans for that switch. You are going to have to…

What Are Different Cuisines Served By The Best Restaurants In Ranchi?
January 31, 2024
Ranchi, Jharkhand’s capital, is a really beautiful place to explore. The weather is friendly and acceptable, and the greenery is appealing. What increases the beauty…

Recipes To Try This Indian Harvest Season
April 13, 2015
Vaisakhi in Punjab, Rongoli Bihu in Assam, Vishu in Kerala and Puthandu in Tamil Nadu, yes the names are different but the feeling to worship…

5 High Protein Plant-Based Snack Ideas
July 25, 2023
High Protein Plant-Based Snack Ideas! A high protein diet comes with a lot of benefits, including increased satiety during meals which can help to support…

Thelawala… My Love For Street Food
October 7, 2014
To all the food lovers out there who easily forget all healthy advices in the name of lip smacking tasty, tangy & oil dripping Indian…